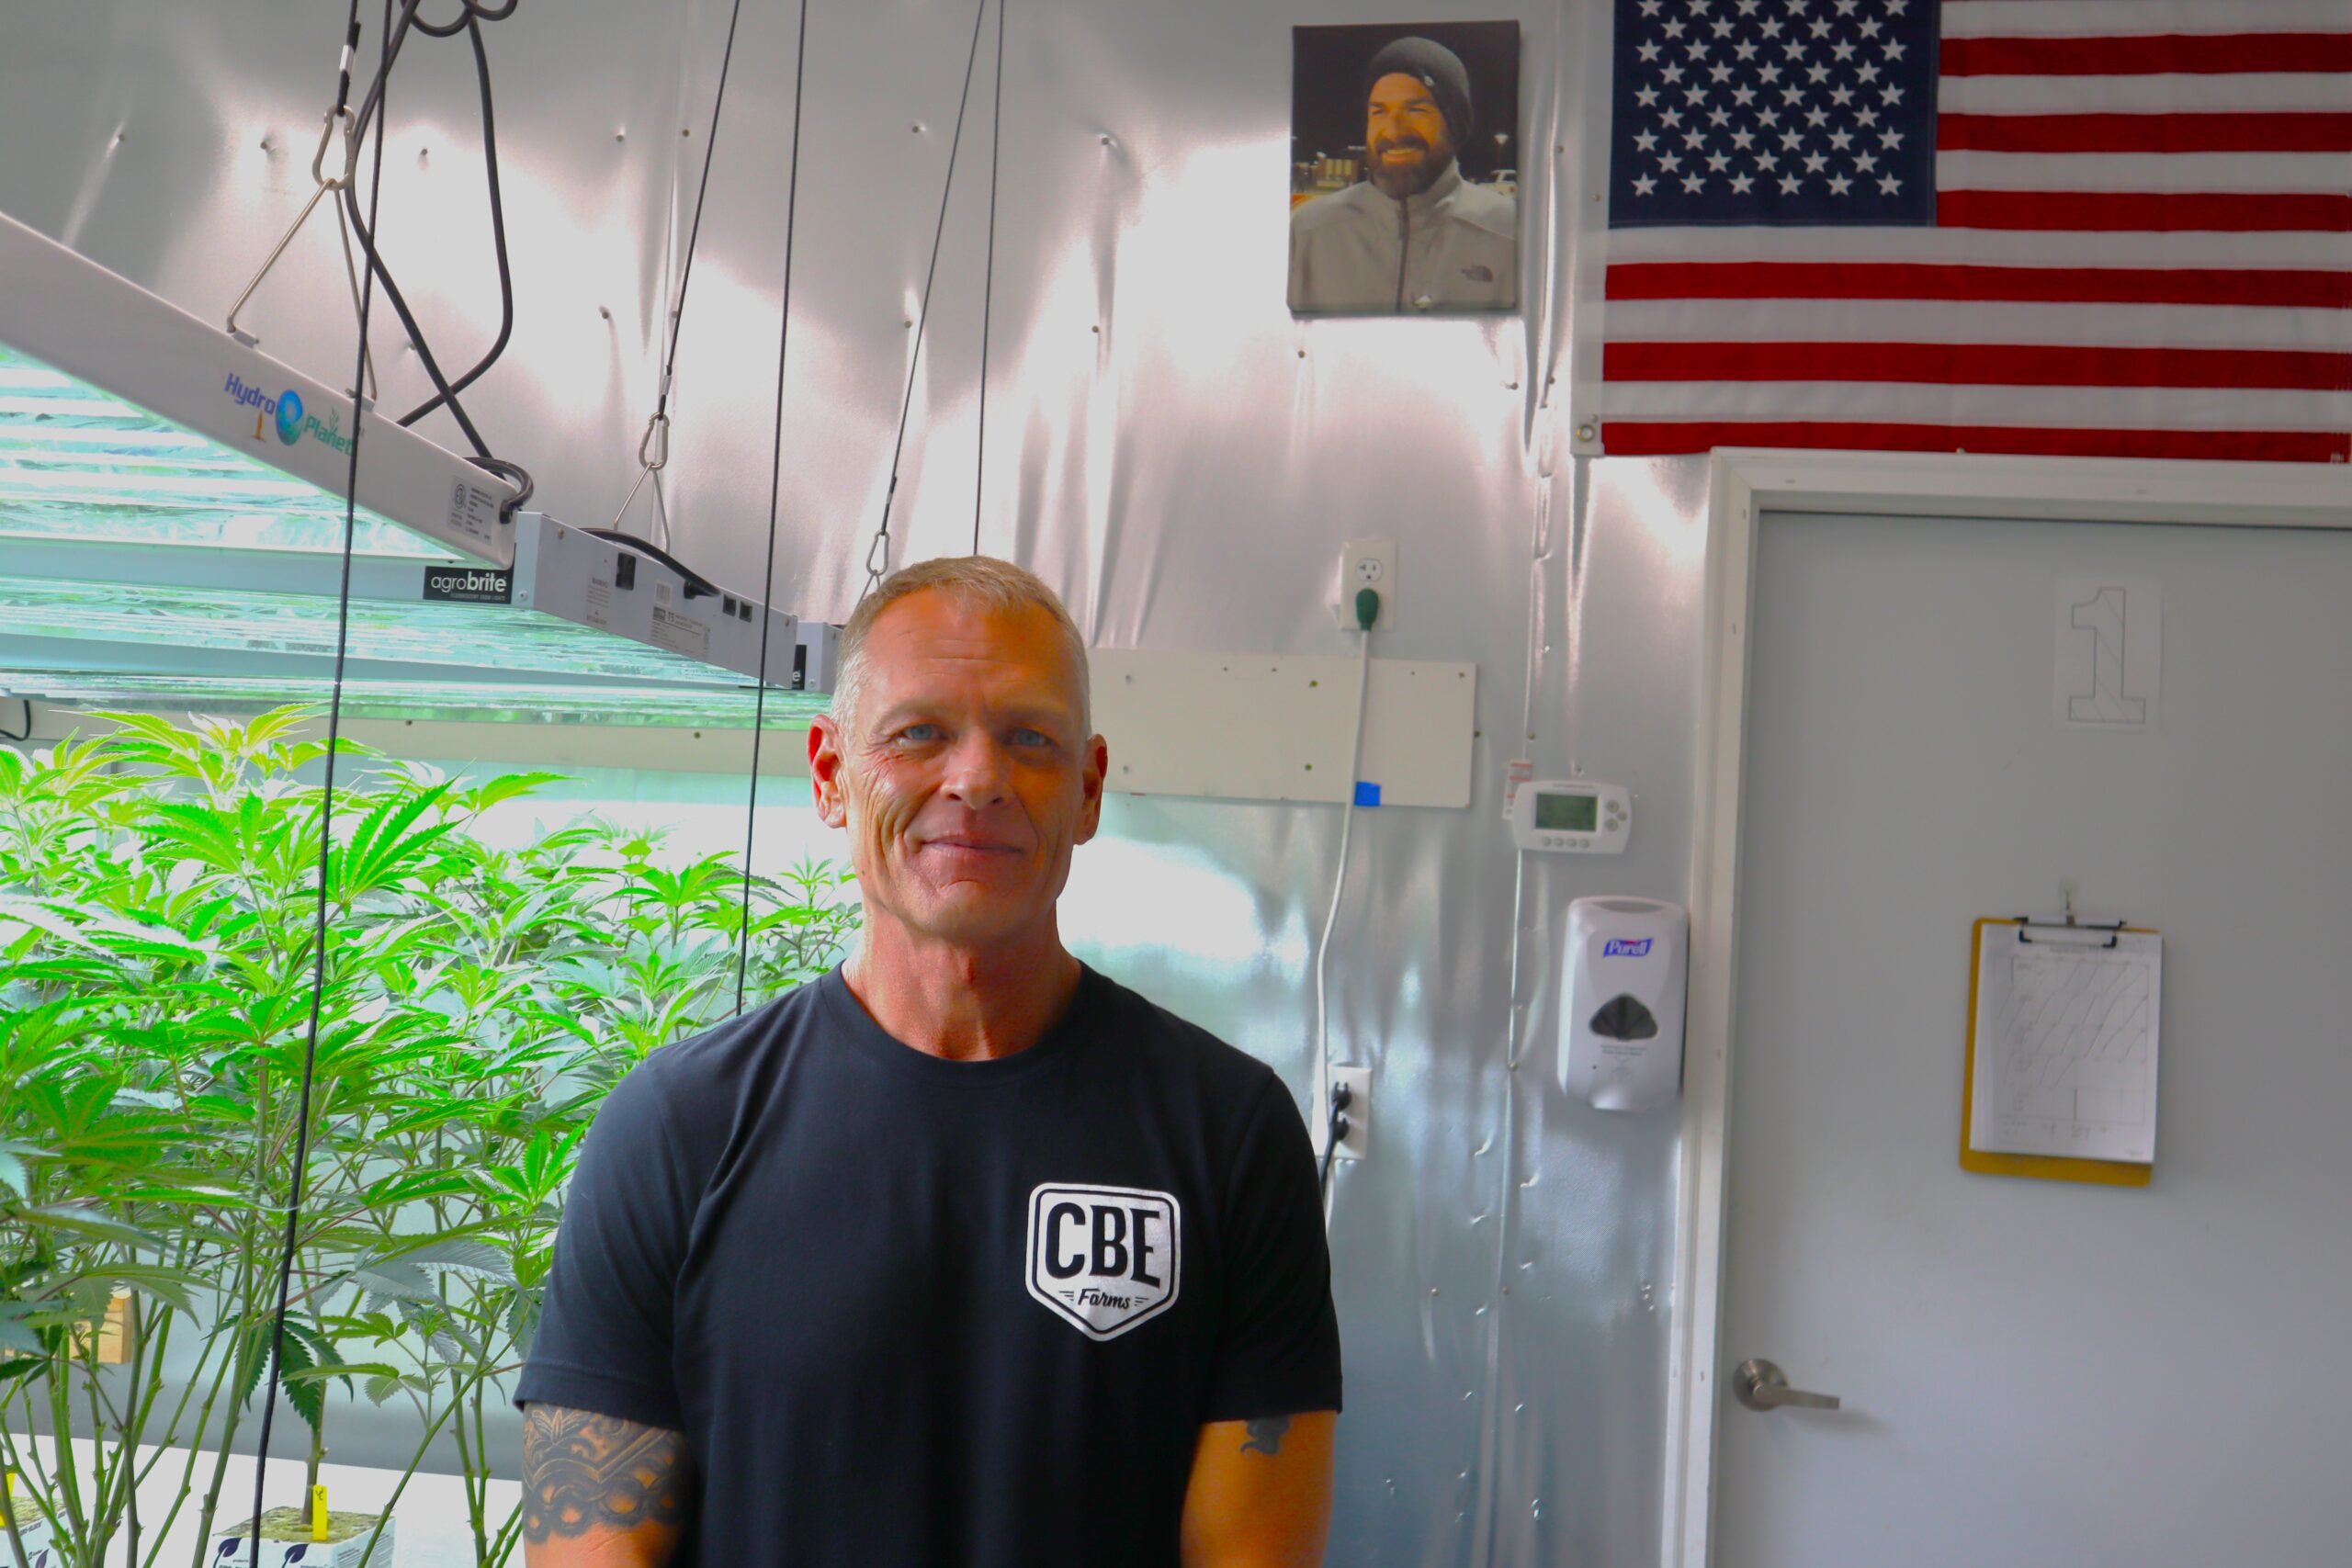
You’ve been waiting for me to talk about the flowering stage, so here we are, just in time for 4/20!
While 4/20 is a ceremonial event for us all, it really has no bearing on our cultivation schedule. As indoor growers, we pick and choose when we want to grow, and if we want to grow all year ‘round, so it shall be!
While spring time is great for our brothers and sisters in the greenhouse and outdoor sectors to start planting seeds and sourcing clones, us indoor growers have our own schedule.
In last batch of articles, I have been discussing the importance of setting clear goals and objectives for your annual cultivation plan, as well hammering home the importance of running a strict operation during your vegetative stage. As I’ve said before, nail your chore list during veg and you set yourself up for great success during flower.
In this article, I want to run down how to transition your plant from veg to flower.
Preparing your Plants for the Switch from Veg to Flower.
Prior to flipping your plants into flower, go ahead and prune them 1 to 2 weeks prior to the flip.You should really clean them up before switching your light cycle. Why?
Because of the post-vegetative stretch (or the pre-flower stretch, depending on your preferred nomenclature).
After your plants get used to the additional rest time from the extra amount of darkness…they will blow up! Literally. It’s like watching teenage boys go through puberty, but in an even shorter time frame.
During the first three weeks of the 12/12 light cycle, expect your plants to double in height. They will produce tremendous growth, vertically and horizontal. Expect lots of foliage underneath.
Which means get ready for some defoliation and major canopy management!
This is why we advise you to get a head start on this madness by pruning during the last week or two of veg.
The Introduction of High Intensity Light to Immature Plants
Through trial and error, we have found that plants respond best when we don’t immediately hit them with 1,000 watts of HPS lighting the day they are switched from veg to flower.
Instead, we have found it optimal to titrate the light intensity in a linear fashion during the first three weeks. This reduces shock and stress on immature plants going from one extreme to the other. None of which is necessary.
Your plants will be just fine under very modest amounts of PPFD1 during the initial week. Remember, your plants were just under veg lights, which are usually equivalent to 300 or 400 watts.. not very intense. You don’t want to immediately pound them with 1,100 watts!
Hopefully you are using a light that allows you to dial in the exact output/intensity. We recommend starting your flowering stage with your lights set around 600 watts. From there, you can increase each week, or every few days.
By the end of second week, you should be around 800 watts or so. From there, you will keep increasing. You will want to hold peak light intensity between Weeks 3 and 6, and then start cranking down your light intensity in Week 7. (You can also start turning down your temps during this time to bring out maximum color expression).
For more on light cycling, check out this video:
https://www.youtube.com/watch?v=7T8x4TlsV0o
Managing your New Canopy
Canopy management is a big part of achieving huge yields, as well as quality buds. How well (or how poorly) you manage your canopy of flowers will dictate the outcomes, both in quanitity, and quality.
Poor canopy management will lead to low yields, larfy buds, and less than ideal bud density and quality. Ever seen a bud that just looked like it didn’t finish all the way? Sub-optimal outcomes can be attributed to many things, but most of those can be deduced down to canopy management.
In the next article, we will discuss the importance of tackling defoliation, utilizing trellis netting, and how to coast to optimal outcomes during your flowering stage.


